I learned a lot when I started the work on Jack my Toyota RAV4. I learned that the only bit of rust you see is just part of the big rust monster hiding from you. I learned that a small task can often lead to bigger problems and more work. I also learned that being able to move your welder to your work easily makes a tough job just that bit better. Sat here writing this, I can’t even begin to tell you why I didn’t build a welding cart out of steel for my welder at the time. I can’t even tell you why I thought the wheels from a cheap camping trolley would be strong enough to hold the weight of the welder and the bottle while being dragged across gravel. It broke after the first use.
How I Built My Welding Cart
What Does My Welding Cart Need To Do?
Now that my garage has been rebuilt I’ve been able to think about the space and how to maximise it to suit the various jobs I tend to do. I have to do woodwork in there, I have to edit videos in there, and I will also have to do metalwork. I also have my Lada sat outside the garage now, so I need to be able to move my welder from my garage to the Lada and back again. This requires a welding trolley (or “welding cart” for my American friends), and it needs to suit my needs in particular. Those needs really are:
- It needs to hold both my MIG and TIG welders
- It needs to hold the two gas bottles the two welders require
- It needs to hold the various accessories the welders require (wire brushes, drill bits, clamps, magnets, nibs, shrouds, wire, rods etc)
- It needs to be in as small a footprint as possible
- It needs to be cheap
My original welding trolley was just built to do a job. I needed to wheel the welder and the bottle to the car. When the wheels broke I ended up just carrying it together. It worked, but it was a royal pain in the arse when it was hot. Or when it was cold. Or when I was ready to throw the whole car in the bin. The new welding trolley doesn’t have to go over gravel as the Lada sits atop of some paving slabs. But it needs to be compact enough to be able to be manhandled if needed.
Knowing full well I don’t know everything, I took to YouTube and had a look at how other people build their welding trolleys. Most, if not all, build rectangular trolleys out of incredibly chunky steel. They’re built in such a way to give good access to the welder and the gas, but also serve as something to dump their entire lives on them. They’re hanging cutting discs, angle grinders, kitchen sinks off the side of them. I can see why they would do this, they want to have quick access to an angle grinder or to their mask. They’re also probably professional and do this for a living. I’m none of that. I’m an amateur and to me the 20 seconds (if that) of time saved by not rooting around in a toolbox isn’t something I’m going to worry about.
Building Something Out Of Nothing, Or Scrap
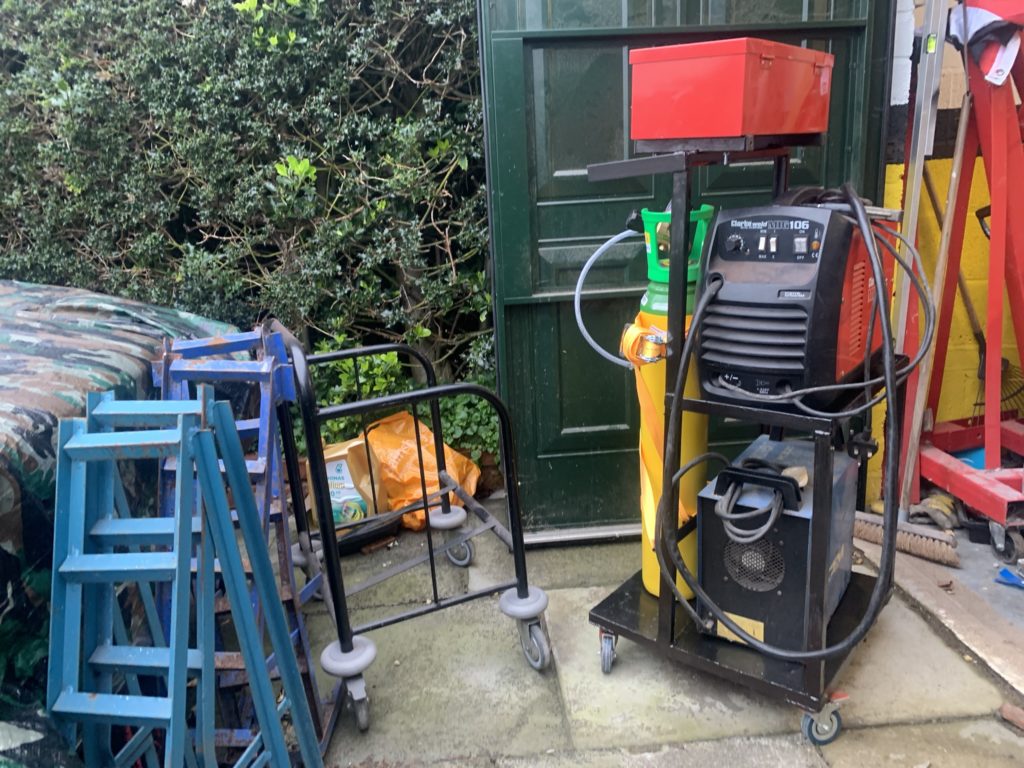
I decided to look at the list of requirements and have a good long think about how I could design something to suit the needs I have. I found myself batting ideas around in my head for the longest time until I settled on an idea. I sketched it out while doing rough measurements of the machines and bottles until I realised it was probably the best solution to my requirements. I decided to put the two welders on top of each other (with space between them), leaving the MIG welder on top in a position to access it to change the wire etc. I would place these transversely and behind them would sit the two gas bottles. I use the Hobbyweld 9L bottles, for better or worse, but gave some space to the gas part of the trolley so that I could use bigger bottles if needed in the future. On top of all of this would sit a toolbox and that would hold all the consumables I need.
The materials though were a different kettle of fish. Like I said, this has to be cheap. I had various bits of steel lying around. Things like the roof bars to my Toyota RAV4 that I never threw out, two pairs of car ramps, and sheet steel I had left in the Lada thinking it was waterproof. Plot twist: it wasn’t waterproof, the sheet steel was rusted. I wanted to use these because otherwise they’d just stay in the garage or given to my friendly local scrap man. However, none of the bits of steel I had to hand would be suitable for the base frame. That’s the only part of the project I paid money for. I paid £20 for some 25mm x 25mm box steel, and £5 for a length of tubular steel. This is going to be used elsewhere, so let’s say £2 of the tubular steel went in to this.
The roof bars I decided would form the backbone of the trolley. It will run up from the base to the top and meet in the middle. This backbone would have the two tank strap holders welded to it, the toolbox would sit on top of it, and the shelf for the welder would also attach to it. This shelf would be built out of the car ramps, made of fairly thick angle iron. This would be welded to the backbone and the base, so it would hold the weight of the MIG welder as well as support the backbone. All of this would sit on top of 4 castors, the best eBay could give me. They’re rated at 300kgs. I will believe that when I see it.
Difficulties
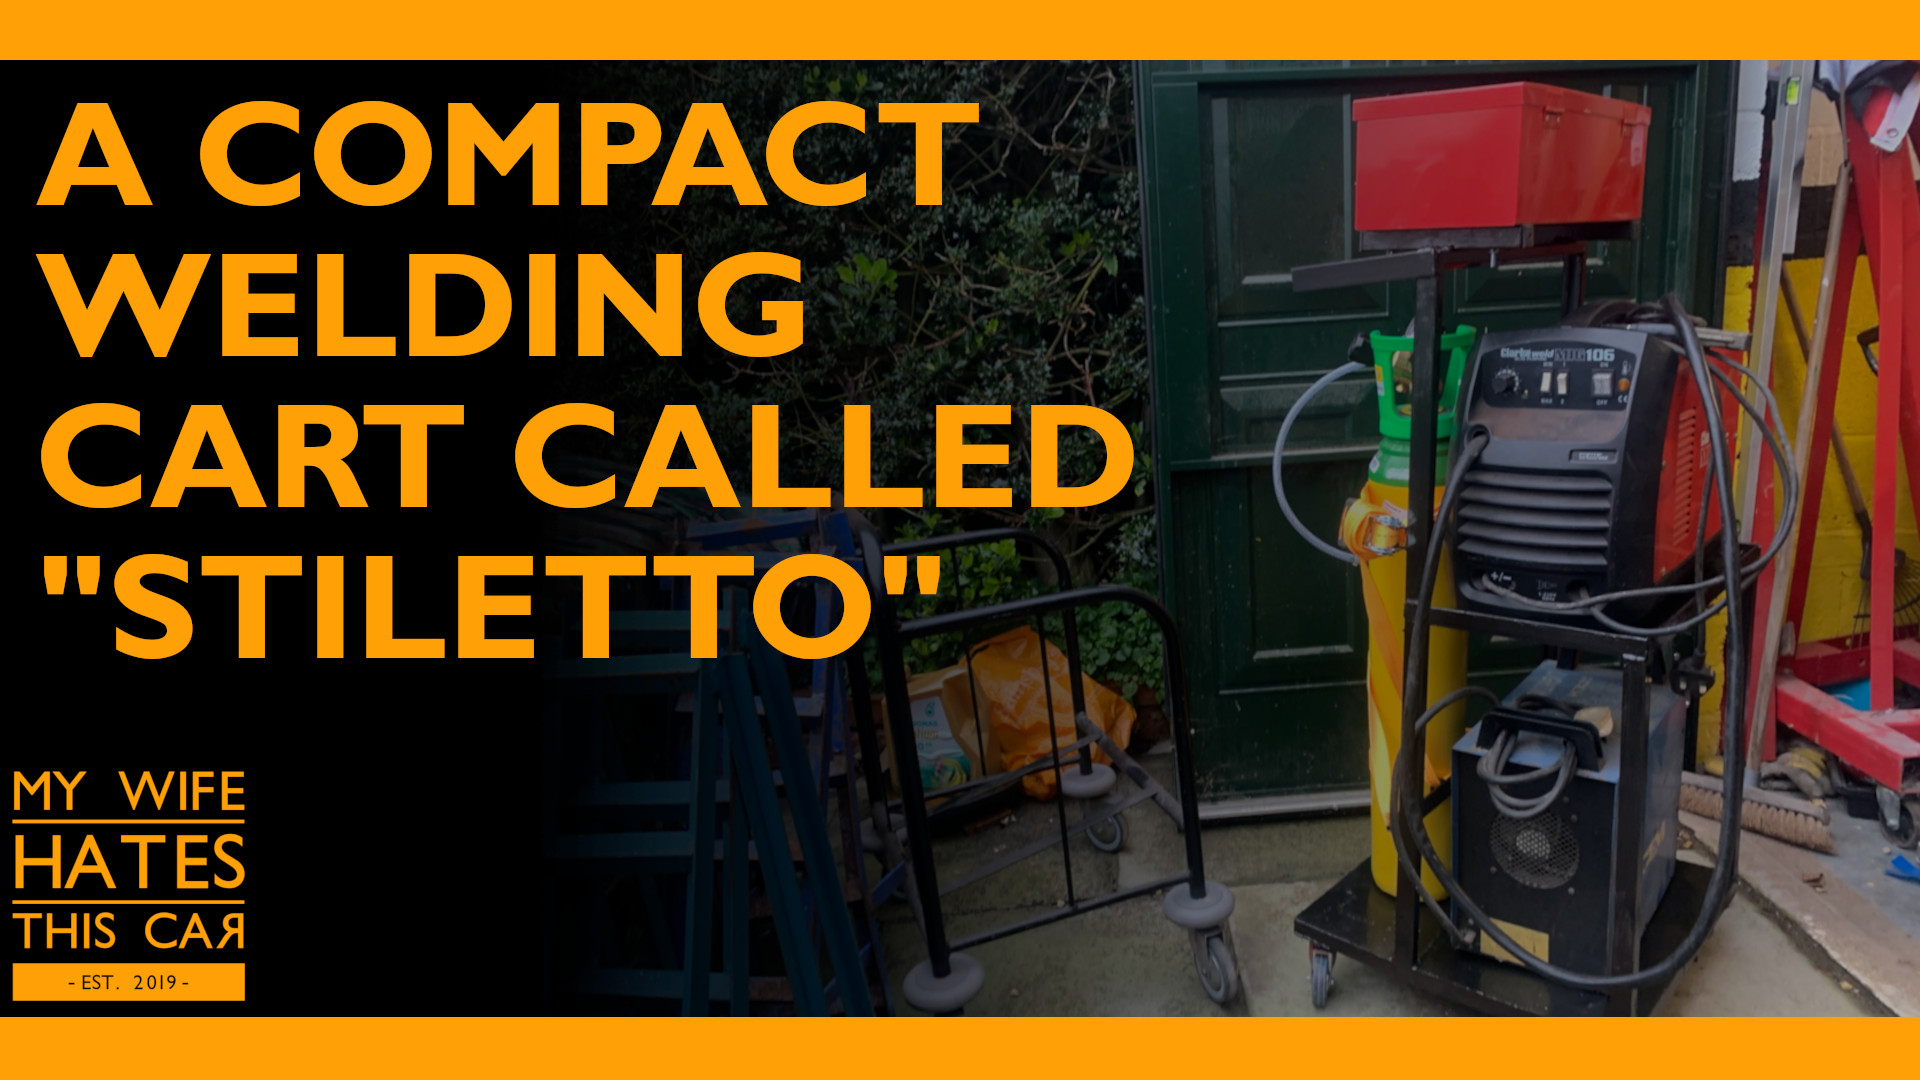
During the build it turned out that hindsight is a wonderful thing. If I knew that I needed a fresh bottle of welding gas and that the nozzle of my welder wouldn’t shit itself, I’d have genuinely had the cart built in a day. Instead, it took 2 days over a week. This delay didn’t include waiting 24 hours between coats of paint. When I cleared out my Lada recently, aside from the ruined fresh steel, I found a tin of Bilt Hamber Zinc Primer. The conditions inside of the Lada weren’t great so I checked the paint to see if it had gone off. I think the paint is on it’s way, but it provided enough primer for two coats on my welding cart. On top of this I had an old tin of Hammerite Black “Hammer Finish” paint. This gave the cart two top coats of paint, but not enough for the underside. That, however, I finished with two coats of some cheap rattle can spray paint I got from Lidl. It was also a lovely shade of red. Inadvertently I had painted my welding cart like I was Christian Louboutin with a red under side to my slender black cart. I ended up calling it the “Stiletto” because of it.
Conclusion

It’s by no means perfect. There were some things I felt would find their way on to the cart, such as the best place to hold the welding wand. At the moment it just drapes over it like an afterthought. Once I’ve used it in anger I’ll have figured out the best place to keep it that makes it useable. As well as that I haven’t installed pots to hold welding wire for the TIG – just because I don’t have any and I’m not set up for TIG welding yet. Once I am I don’t imagine this will be too difficult. Finally, I had intended to use 25mm webbing to hold the gas tanks but the ladder catches I bought don’t hold any strength so they’re effectively useless. Instead I’m opting to use 25mm ratchet straps which are cheap and strong enough to hold the two bottles.
Once these things have been settled I’ll provide a design for it so you can build one yourself, although if you just watch the video you’ll get the general gist of what to do. It’s not rocket science, it doesn’t have to cost the earth either. I think I spent about £25 in new materials, which essentially was just the square tubing for the base. The rest was built with scrap steel I had hanging around me.


