Following on from the last video where I stripped back the sound proofing of Nikita the Lada 2101, this new video focuses on what’s underneath the car. The part of the car where anyone seldom sees it, yet offers an incredible amount of strength to the car. Plus it’s always the scene where the car is killed out right when it comes to MOT time. “Ah the sill is rotten, it’s a fail. It’ll cost you £400, plus your first new born and your house”.
The Video
The video took a while to get done for various reasons. A big reason was an ear infection I caught from something of the car. While I was under this Lada 2101 cleaning it, something fell in my ear. That caused me a whole world of hurt! As well as that, a lot was filmed during the past month where by it would make the video over 90 minutes long. So expect some follow up videos to this!
Here is the video for you to enjoy. Remember you will get notified about new videos of Nikita the Lada 1200 if you follow me on my Facebook page, as well as my Instagram and my YouTube channel.
What is the Lada like underneath?
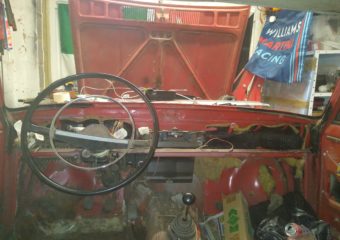
In the previous video when I concentrated on just the inside of Nikita the Lada 2101, the main thing I wanted to be sure of was how good the structure was. This mean identifying areas where the steel had rusted away completely, and places where rust could compromise the safety of the vehicle.
From the inside we found three areas of corrosion that compromised the safety of the car. On the driver’s side, part of the inner sill had rusted away, along with part of the floor. On the passengers side it was pretty much the same, except the inner sill wasn’t affected. This on it’s own, given the reputation these Lada 1200’s have, made the future look bright.
You don’t know what you don’t know, so you’ve got to make sure you get to know as much as you can. That meant I needed to go under the car, strip away the stone chip, and see what the steel was like under the car.
A surprisingly strong 44-year old Lada 2101
As I started with the wire brush on the drill, and the woefully inadequate wire brush in my hand, the dirt came flying off. I started on the driver’s side rear arch. The hand held wire brush got the dirt off, the drill took the harder stuff off. What was left was a good, solid, rear arch. Sure, there were some spots of rust where the stone chip had broken off, but the rust hadn’t eaten all the way through it.
Carrying on down this Lada 2101, it was more of the same. Stone chip that came off easily showed some rust behind it. But nothing that had gone right through the steel. There were also spots where the stone chip had long gone and rust had appeared. I didn’t really notice them until the surrounding dirt and stone chip had been removed. It was at this point I thought that the idea of removing all of the stone chip that I could access was a great idea.
You win some, you rust some
This is a recurring theme with the under side of this Lada 2101. About 90% of the original factory stone chip was present and still holding on to the metal. 8% of the stone chip came off easily, and about 2% of the under side had already exposed metal. This pleased me no end!
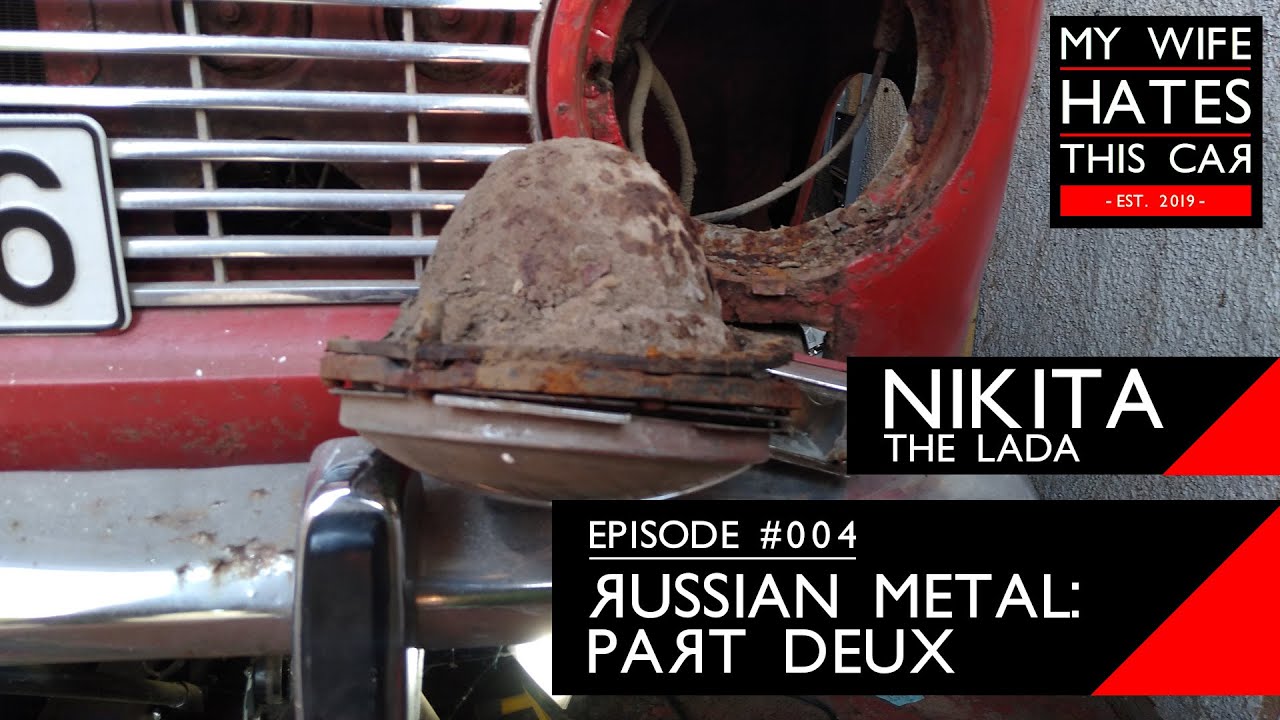
It was the Lada 1200’s driver’s side front wing that caused my happiness to be short lived. The front of the car always looked a bit ropey. but I thought a bit of a sand and some filler and it’d be grand. The problem is someone had already attacked it with filler.
Sometimes on the internet, when you’re researching whether rusted steel could be saved or cut out, you’re told that it’s a judgement call. Personally I don’t like that term, it makes it feel like a grey area. Plus I knew I had no real experience with corroded steel. So for steel in the grey area of being good or bad, I would second guess myself about whether it was good or not.
The front wing though taught me a lot. If you can pierce it with a screwdriver, or flex it with your fingers, then it’s far too weak to be any good. For areas of the wing that weren’t plastered in filler, this was very much the case of the steel here. But it didn’t stop there! The front driver’s side strut mount looked as if it had been shot.
So what’s the plan with the Lada 1200 now?
The plan for Nikita the Lada 2101 is still the same. The shell and structure of this Lada 1200 needs to be sorted out. This means the floor is going to be welded, the chassis arm that I put my screwdriver through on the driver’s side will be changed, and the strut mount will also be welded up. This makes the rolling shell strong enough to then support itself on it’s jacking points, which will then allow me to drop the drive train and rear axle.
Dropping the drive train and rear axle allows me to then inspect the hard to reach places that I couldn’t check during this period of work. It also allows me to start refurbishing the rear axle and other suspension components. The idea being that, if the shell and standard components of the Lada are sound and there’s no big issues with them, it’ll mean that we can go full steam ahead in to the K-Series engine transplant!
In the meantime, I have decisions to make. Body panels for Lada 1200’s/Lada 2101’s are plentiful. I’m not sure about the quality, but even an aftermarket body panel for a Lada is better than an original Lada 1200 panel covered in body filler. But I have the opportunity to try and make patches for this wing and other body parts on this Lada 1200.
It’s about balancing the cost of new Lada 1200 panels and their shipping, against the cost of buying new sheet steel and trying to make the patches myself. I’m not sure which road I’m going to go down yet, but right now I’m pleased that my Lada 2101 is looking to be a solid platform for the project ahead!

